Introducing ARCHIE: Your Friendly AI Chatbot Companion
Author: Daniel Marsh | Published: June 27, 2023
| Software Name: ARCHIE | |
| Release Date: June 27, 2023 | |
| Version: 1.0.0 | |
| Developer(s): Daniel Marsh | |
| Language: Python | |
| Framework/Library: NLTK, KivyMD | |
| Platform/OS: IOS/Android | |
| License: Open source | |
| File Size: 256 KB (262,144 bytes) | |
| Download/GitHub: Download from GitHub |
ARCHIE: Your Personalized Mobile Chatbot
ARCHIE is an intelligent and user-friendly mobile chatbot developed using Python, NLTK (Natural Language Toolkit), and KivyMD framework. With its wide range of features and capabilities, ARCHIE aims to provide users with a personalized and engaging conversation experience.
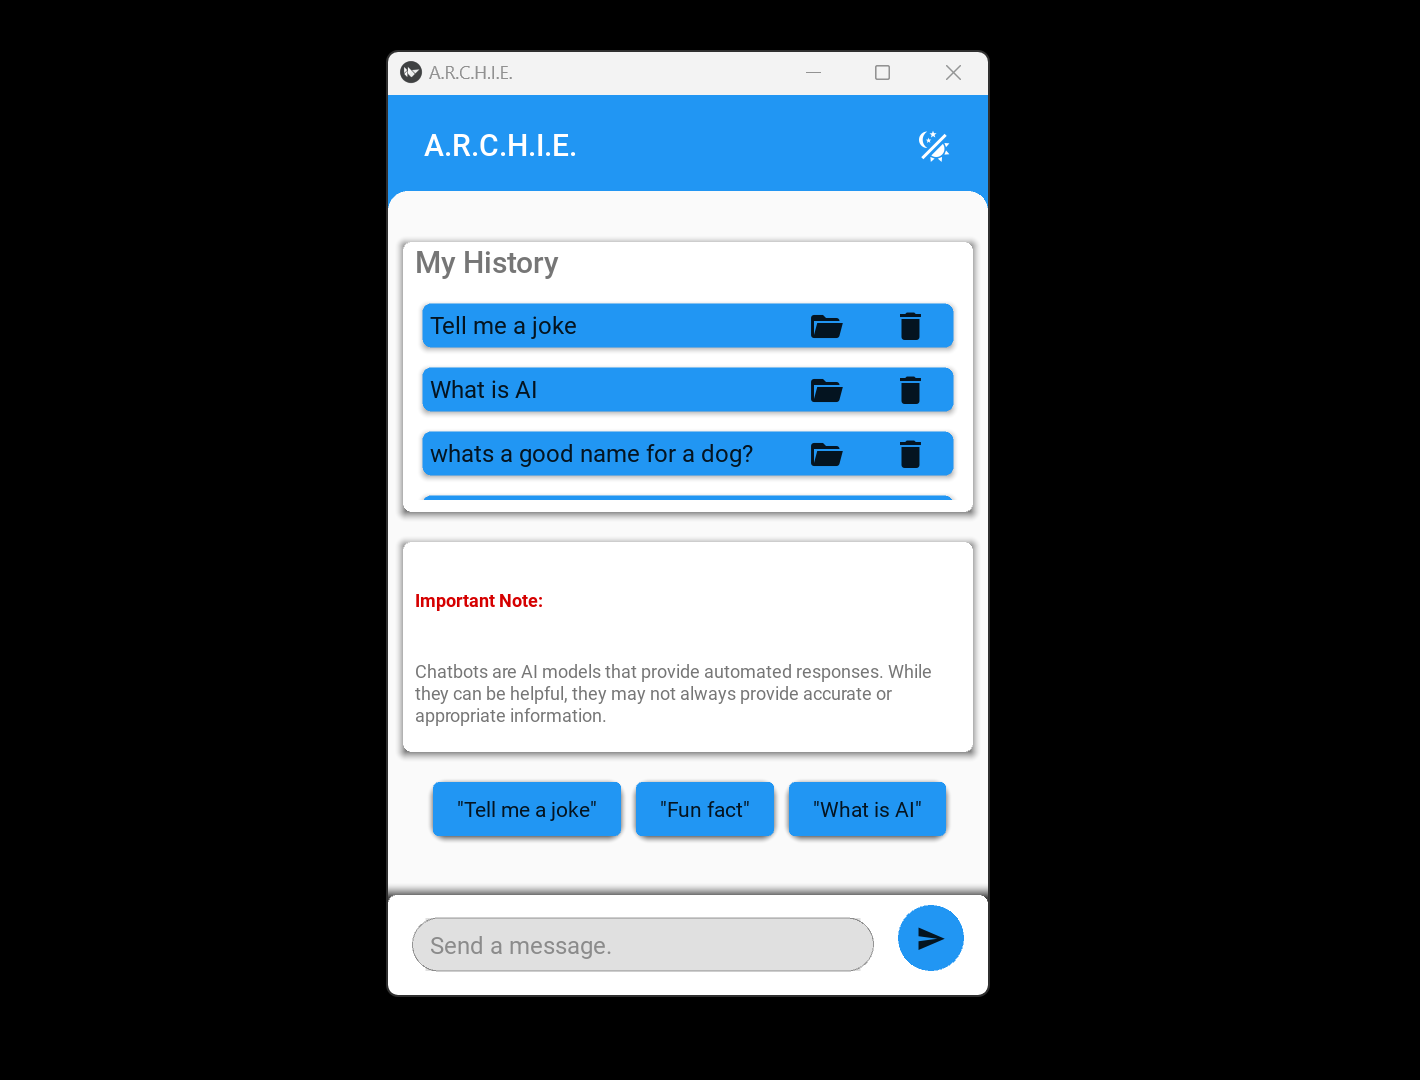
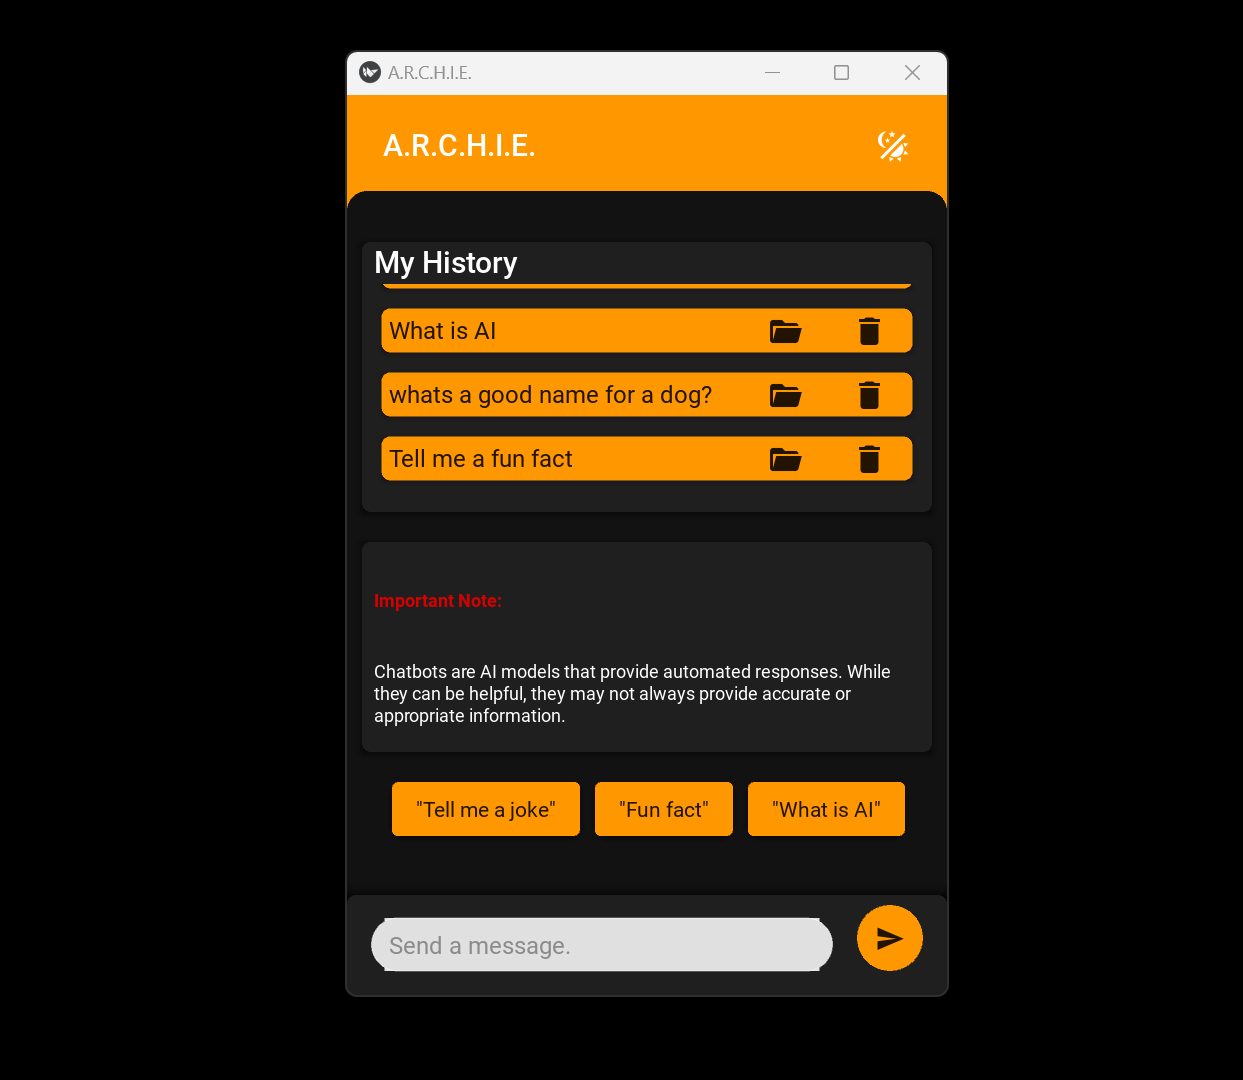
ARCHIE keeps track of previous conversations, making it effortless for users to revisit and resume any past interactions at a later time. This feature ensures continuity and allows users to pick up where they left off, enhancing the overall user experience.
ARCHIE is designed to be accessible across multiple platforms, including mobile devices and web browsers. This multi-platform accessibility enables users to seamlessly access and interact with the chatbot from various devices, ensuring flexibility and convenience.
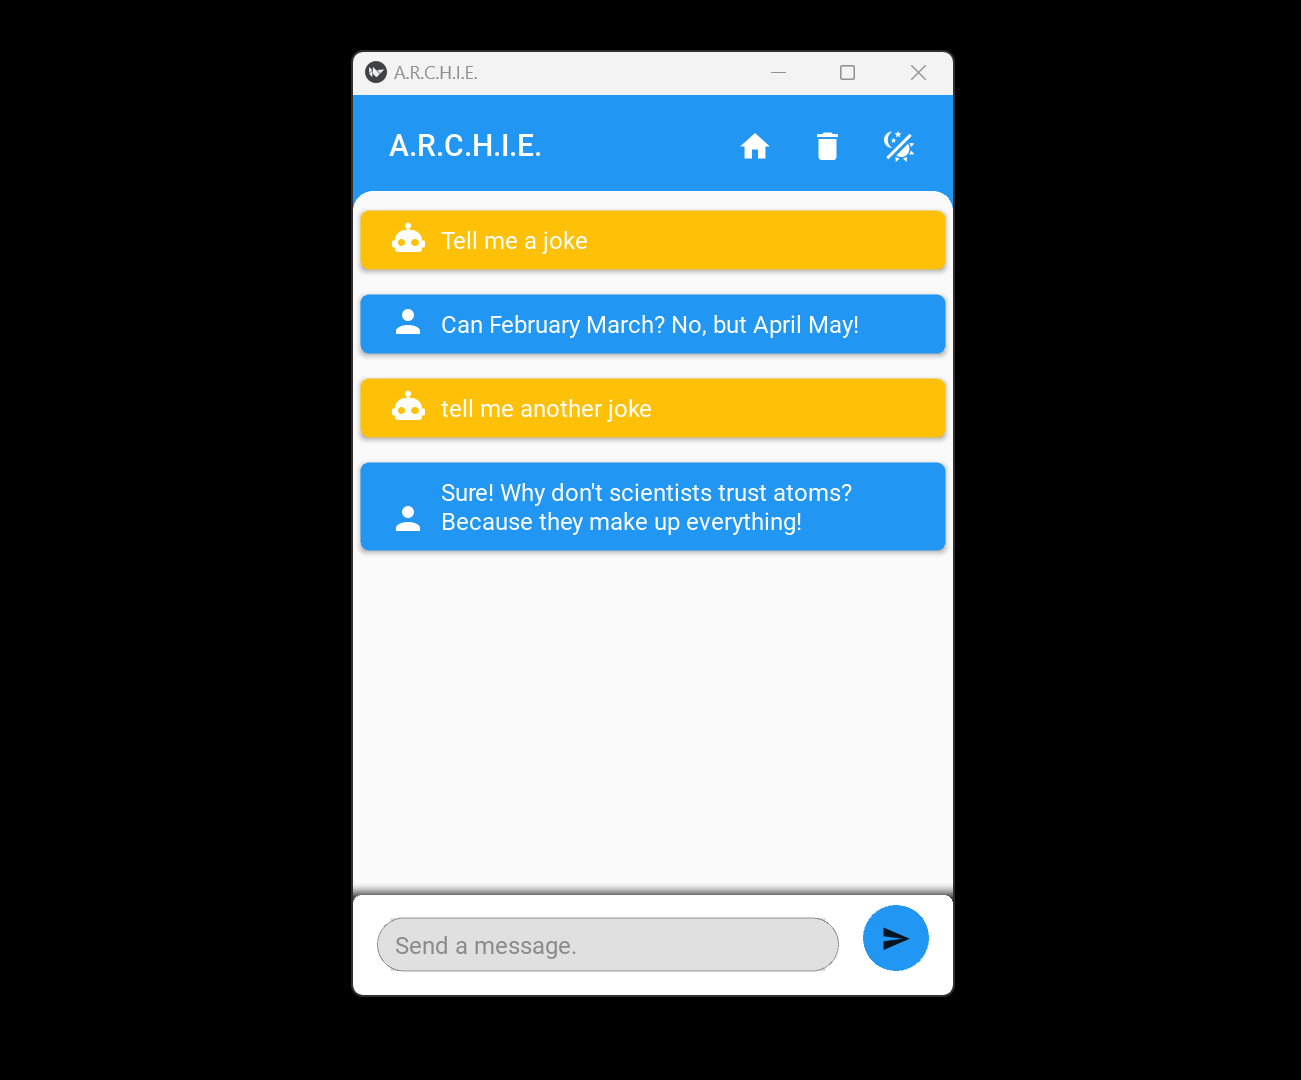
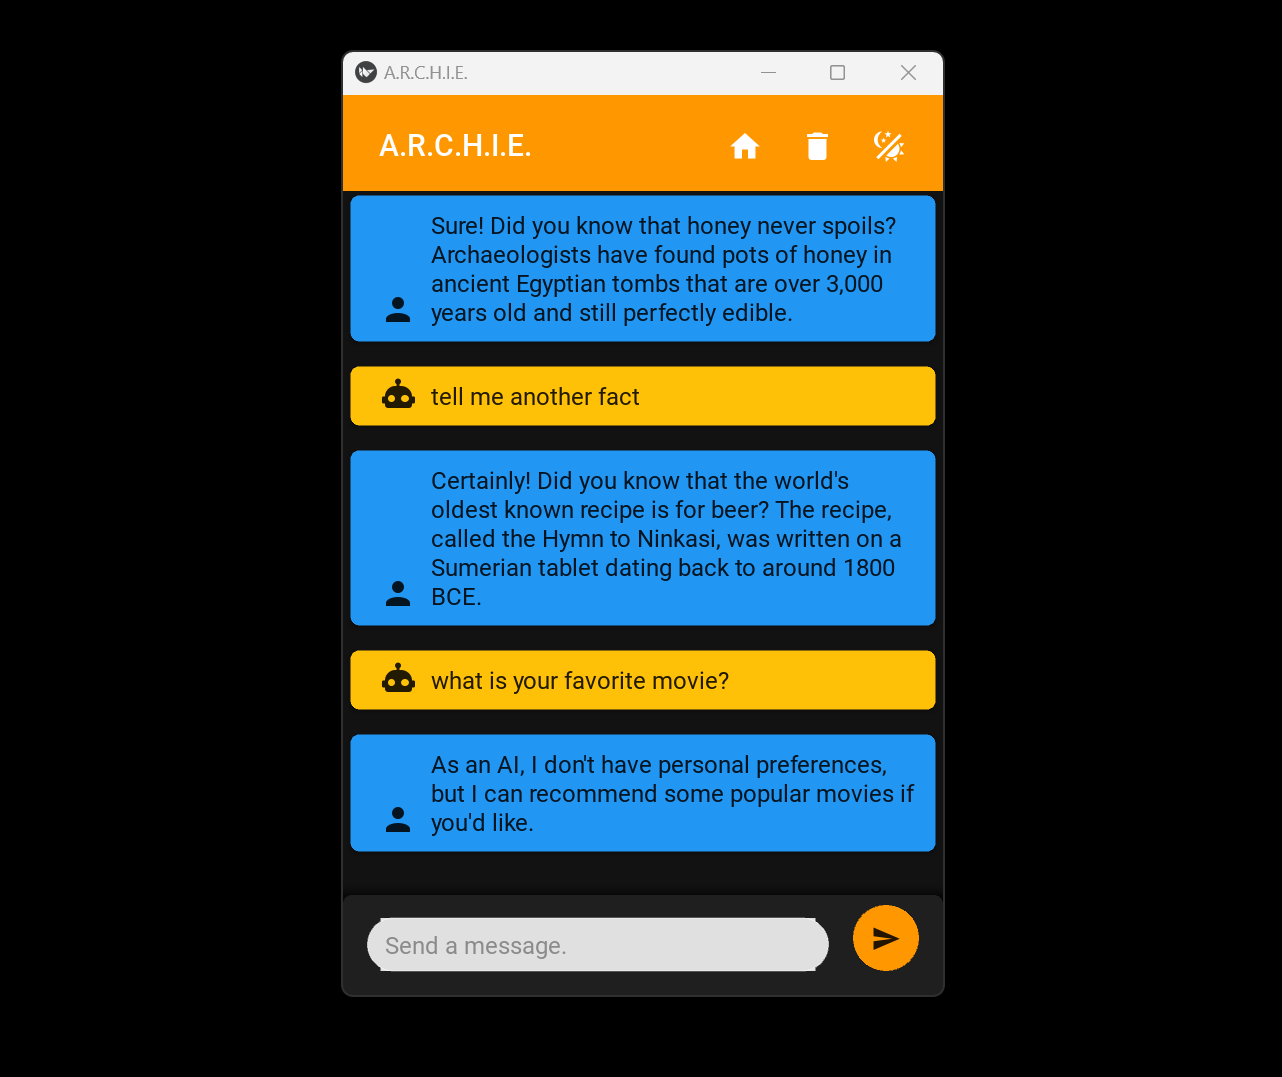
ARCHIE's conversational style and friendliness are essential components of its design. The chatbot is programmed to engage users in natural and meaningful conversations, creating an interactive and friendly experience. ARCHIE's ability to understand and respond to user input with empathy and intelligence fosters a positive and enjoyable interaction.
In summary, ARCHIE is a mobile chatbot built using Python, NLTK, and KivyMD. With its Intelligent Personalization, Conversation History, Multi-Platform Accessibility, Quick Information Retrieval, Customizable User Interface, and Friendly and Conversational nature, ARCHIE offers users a truly personalized and engaging chatbot experience. Whether users seek information, companionship, or entertainment, ARCHIE is always ready to assist and provide a delightful conversation.
-
Intelligent Personalization: ARCHIE can remember user data, including interests, names, and ages, allowing for a personalized and tailored conversation experience.
-
Conversation History: ARCHIE keeps track of previous conversations, making it easy to revisit and resume any past interactions at a later time.
-
Multi-Platform Accessibility: ARCHIE is available across various platforms, including mobile devices and web browsers, allowing users to access and interact with the chatbot seamlessly.
-
Quick Information Retrieval: ARCHIE swiftly fetches information from reliable sources, providing users with instant answers to their queries, whether it's general knowledge or specific facts.
-
Customizable User Interface: ARCHIE allows users to customize its appearance and preferences to suit their individual preferences and enhance the overall user experience.
-
Friendly and Conversational: ARCHIE is designed to engage users in natural and meaningful conversations, providing a friendly and interactive chatbot experience.
Standard Installation Steps
Step 1:
1. Download the ARCHIE folder from here.
2. Store the folder anywhere on your Microsoft Windows machine.
Step 2:
1. Inside the ARCHIE directory, locate the file named main.exe.
2. This file will be the only .exe file with the ARCHIE icon.
Step 3:
1. Create a shortcut of the file and rename it ARCHIE .
2. Pin the shortcut to your taskbar and start menu.
Advanced Installation Steps using auto-py-to-exe:
These steps are for those who downloaded the ARCHIE file for debugging purposes.
Step 1 (RECOMMENDED):
1. Use the latest version of Python. Visit Python Downloads for more information.
Step 2 (RECOMMENDED):
1. Use a virtual environment for Step 3. Refer to the Python documentation for instructions on creating a Python virtual environment or Anaconda documentation for instructions on creating an Anaconda virtual environment.
Step 3:
1. Install pyinstaller by running the command in the console.
pip install pyinstaller
2. Install Kivy 2.0.0 by running the command in the console.
python -m pip install kivy[FULL]
3. Install auto-py-to-exe by running the command in the console.
pip install auto-py-to-exe
4. Run auto-py-to-exe by executing the command in the console.
auto-py-to-ex