CoinKeeper - Bitcoin Wallet Manager
Author: Daniel Marsh | Published: July 9, 2023
CoinKeeper - Bitcoin Wallet Manager
| Software Name: CoinKeeper | |
| Release Date: July 9, 2023 | |
| Version: 1.0.0 | |
| Developer(s): Daniel Marsh | |
| Language: Python | |
| Framework/Library: KivyMD | |
| Platform/OS: Windows 10 - 11 | |
| License: Open Source | |
| File Size: 349 KB (357,657 bytes) | |
| Download/GitHub: Download from GitHub |
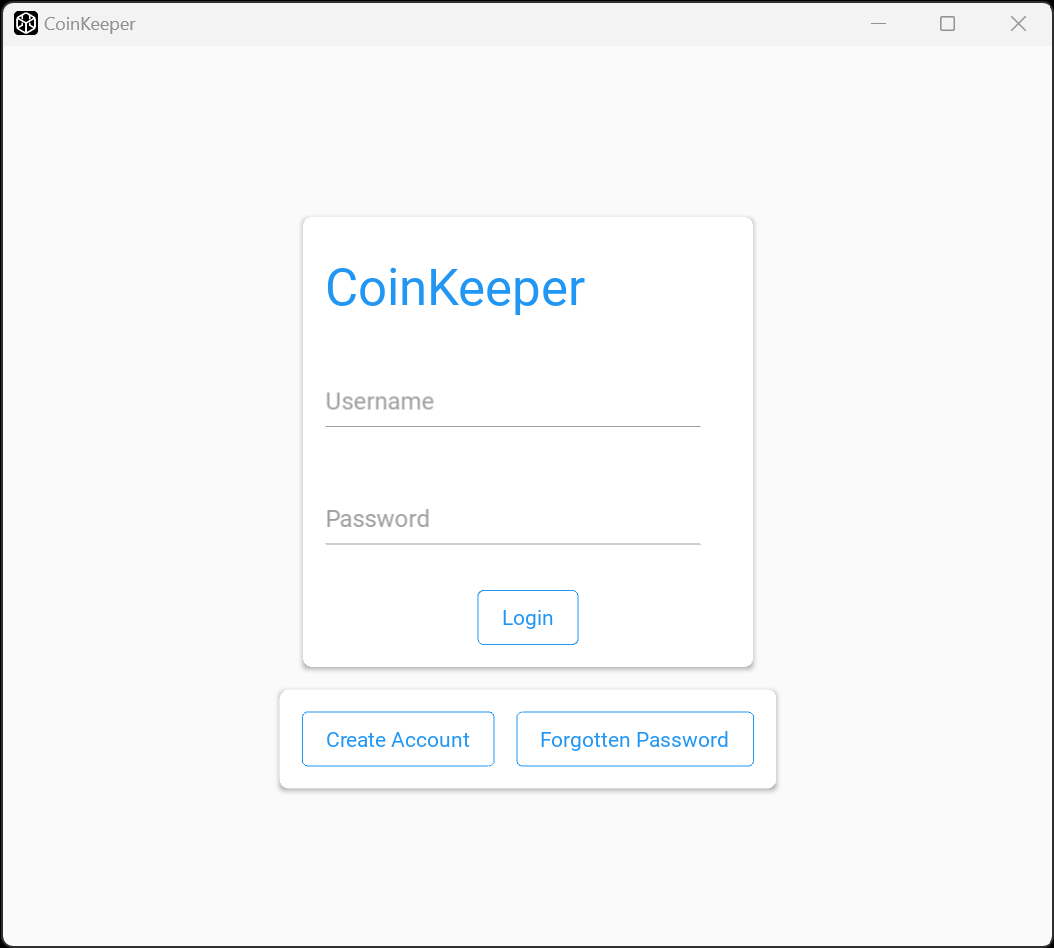
CoinKeeper is a Windows desktop app developed as an open-source project. It aims to provide users with a user-friendly interface to manage their Bitcoin wallets efficiently. The application is built using Python programming language and utilizes the KivyMD framework to create a visually appealing and responsive user interface.
CoinKeeper implements secure encryption techniques to protect the private keys of each wallet. This ensures that the user's BTC holdings remain secure even if the wallet file is accessed by unauthorized individuals.
The project is designed to be easily extensible and customizable, allowing developers to add new features or modify existing ones to meet specific requirements. The open-source nature of CoinKeeper encourages community participation and contributions, fostering continuous improvement and innovation.
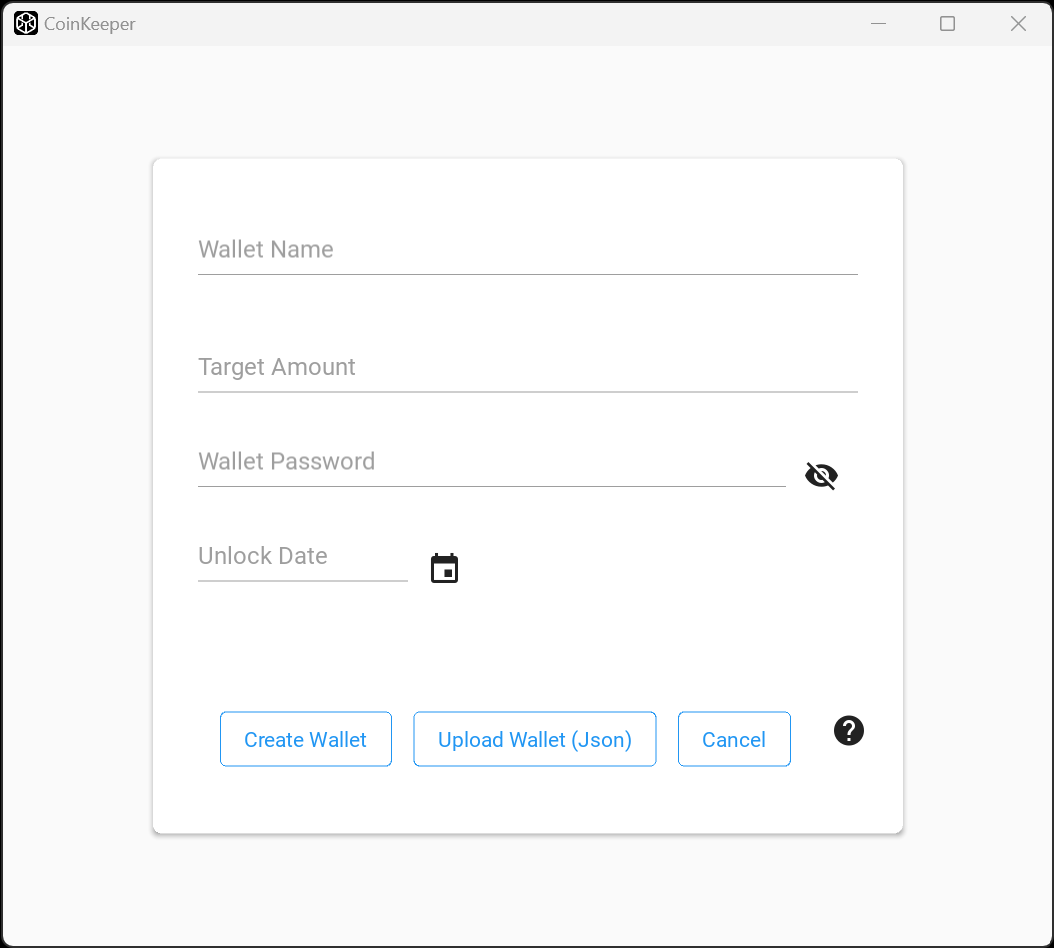
- Create unlimited Bitcoin wallets
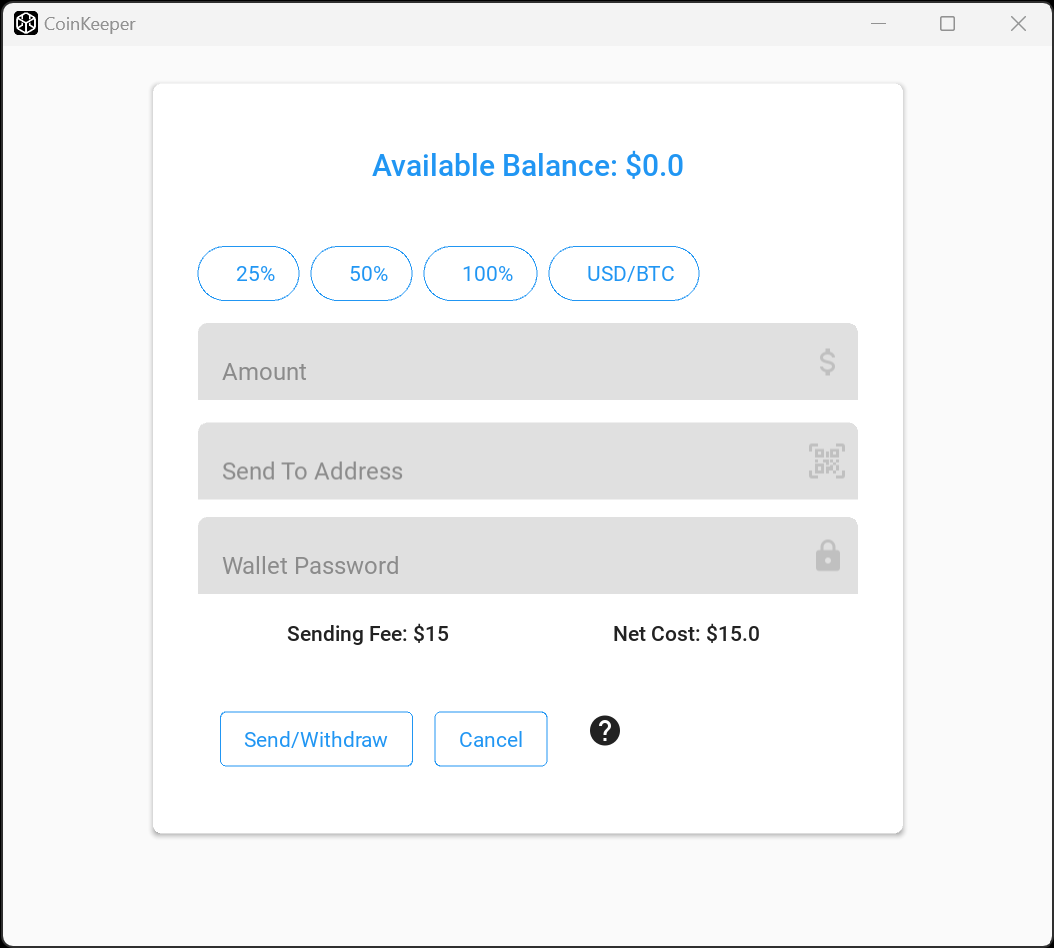
- Send and receive BTC
- Download encrypted wallet files
- Upload existing wallets
- Encrypt private keys using user-defined password
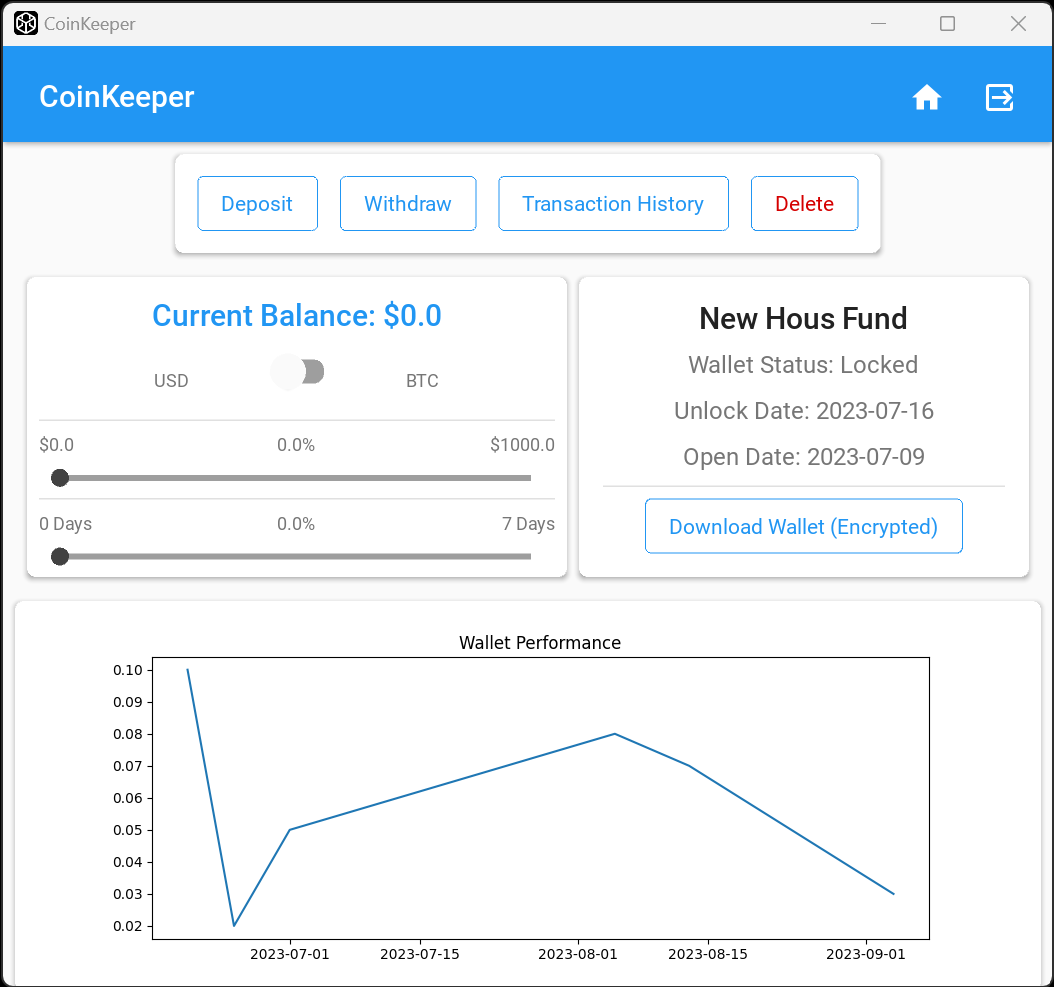
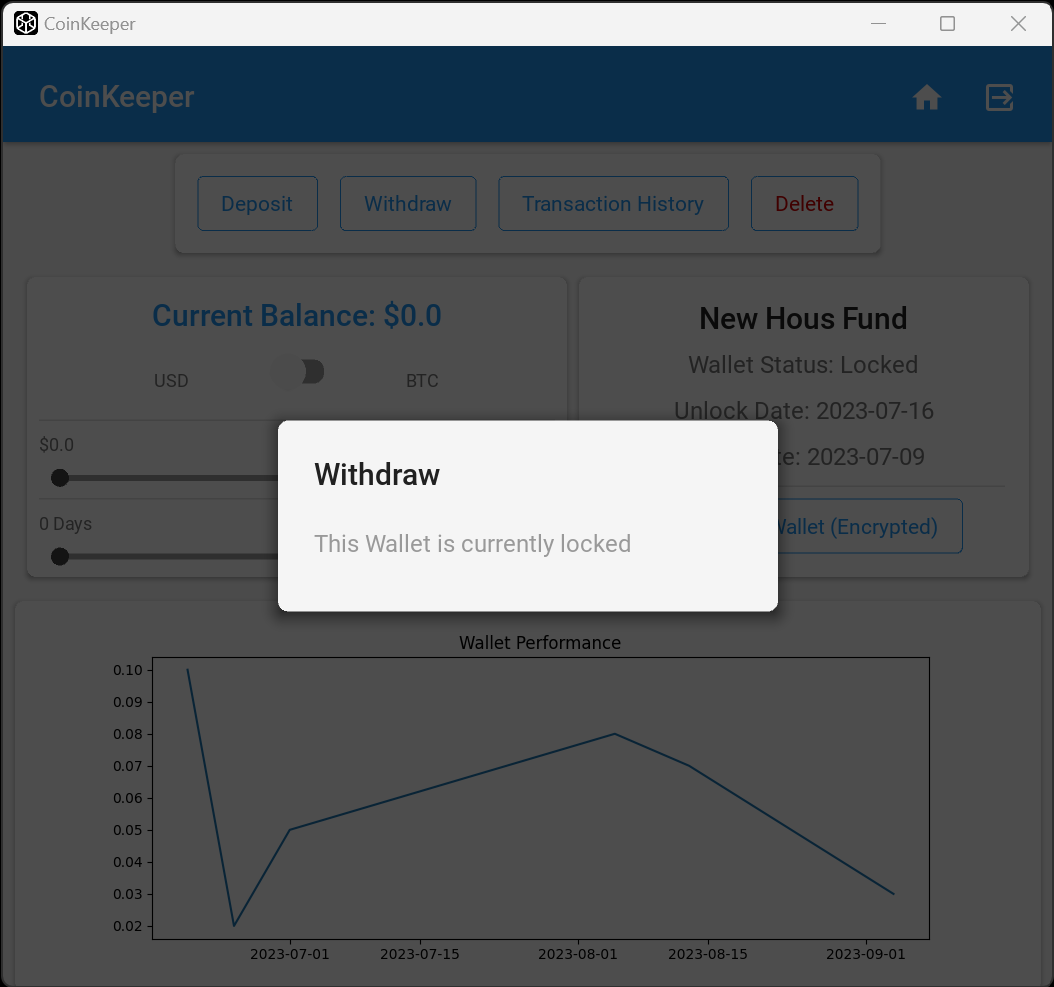
- Lock wallets to prevent withdrawals until a specific value or predetermined date is reached
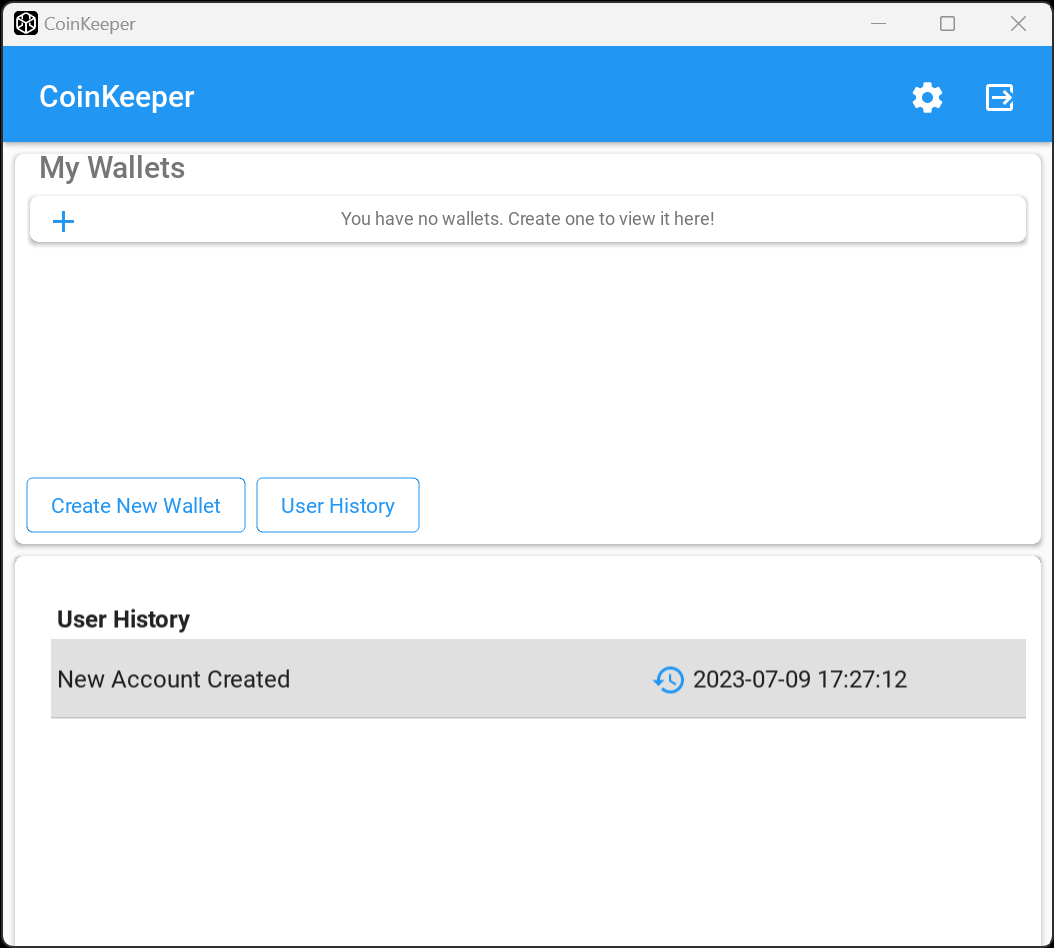
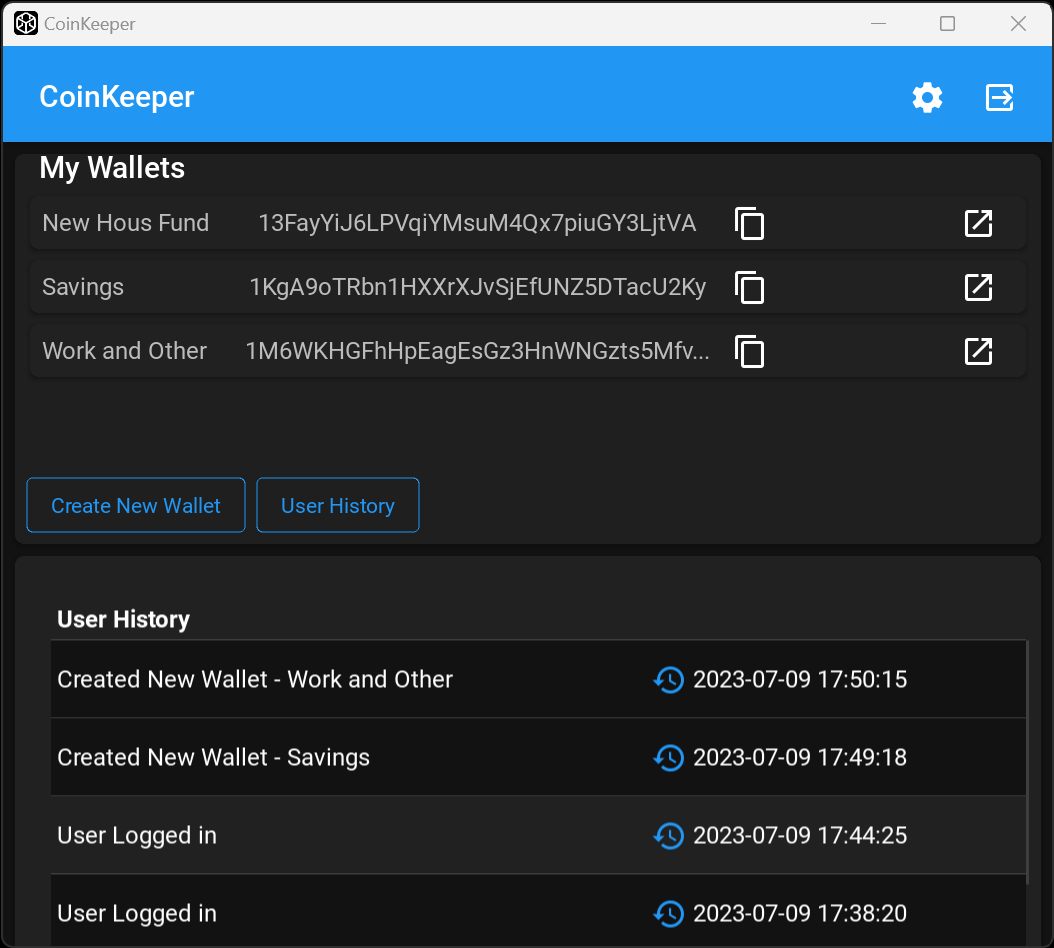
- View user history including logins, deleted wallets, created wallets, and uploaded wallets with corresponding time and date
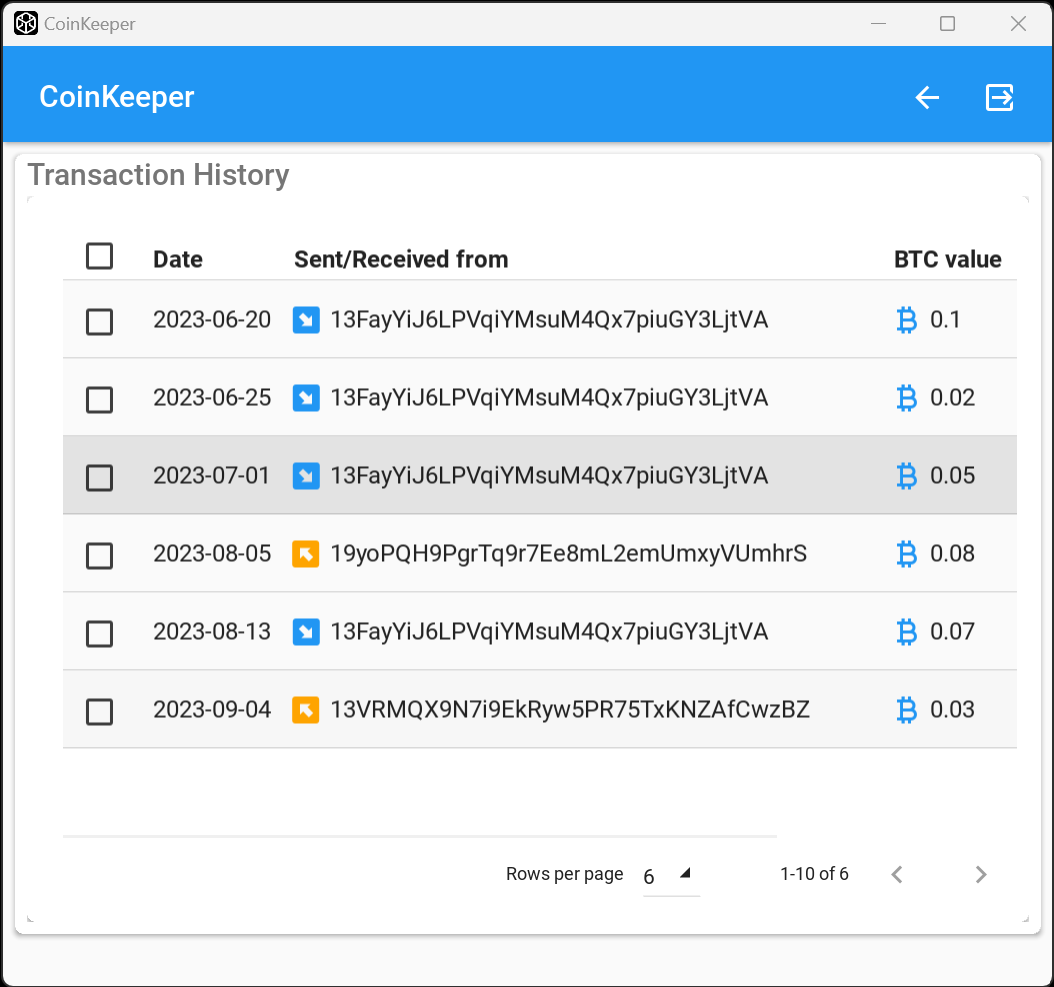
- See wallet balance and transaction history
- Download transaction history for analysis and record-keeping
- Login and logout functionality
- Settings page to update user details such as name, email, and password
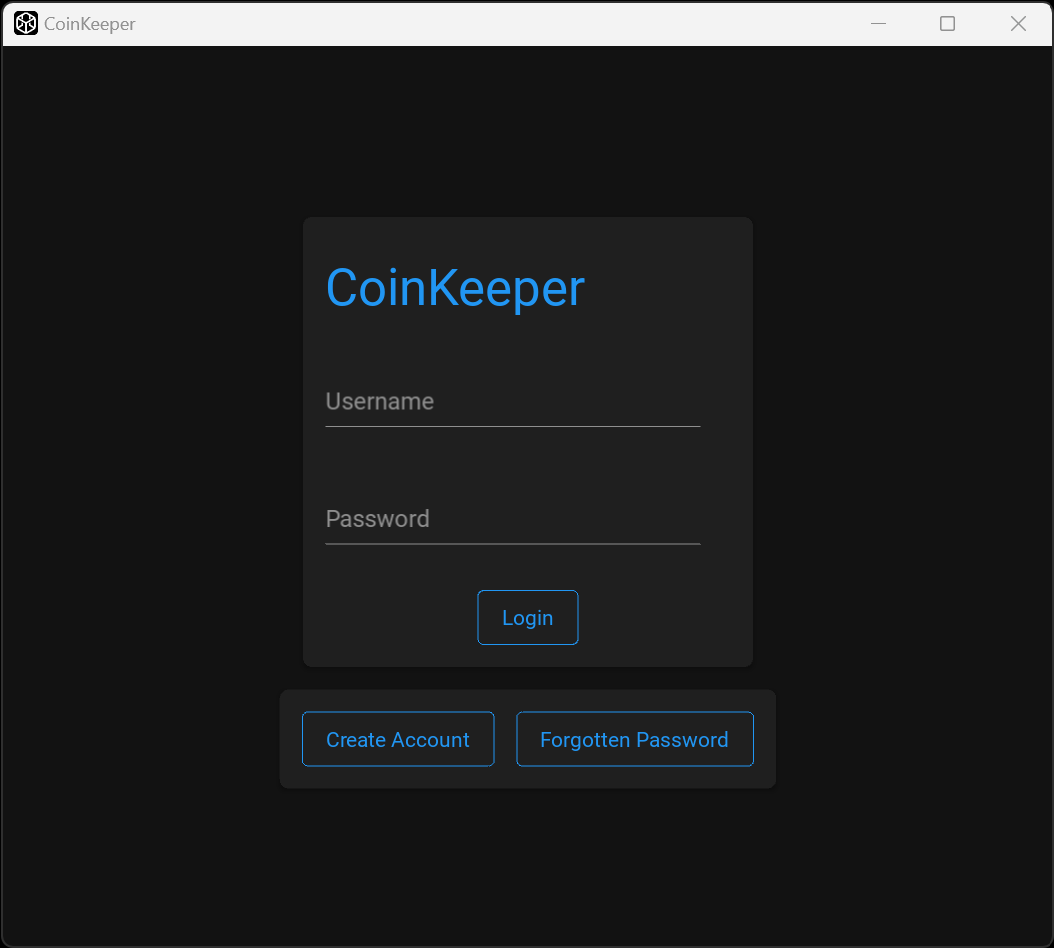
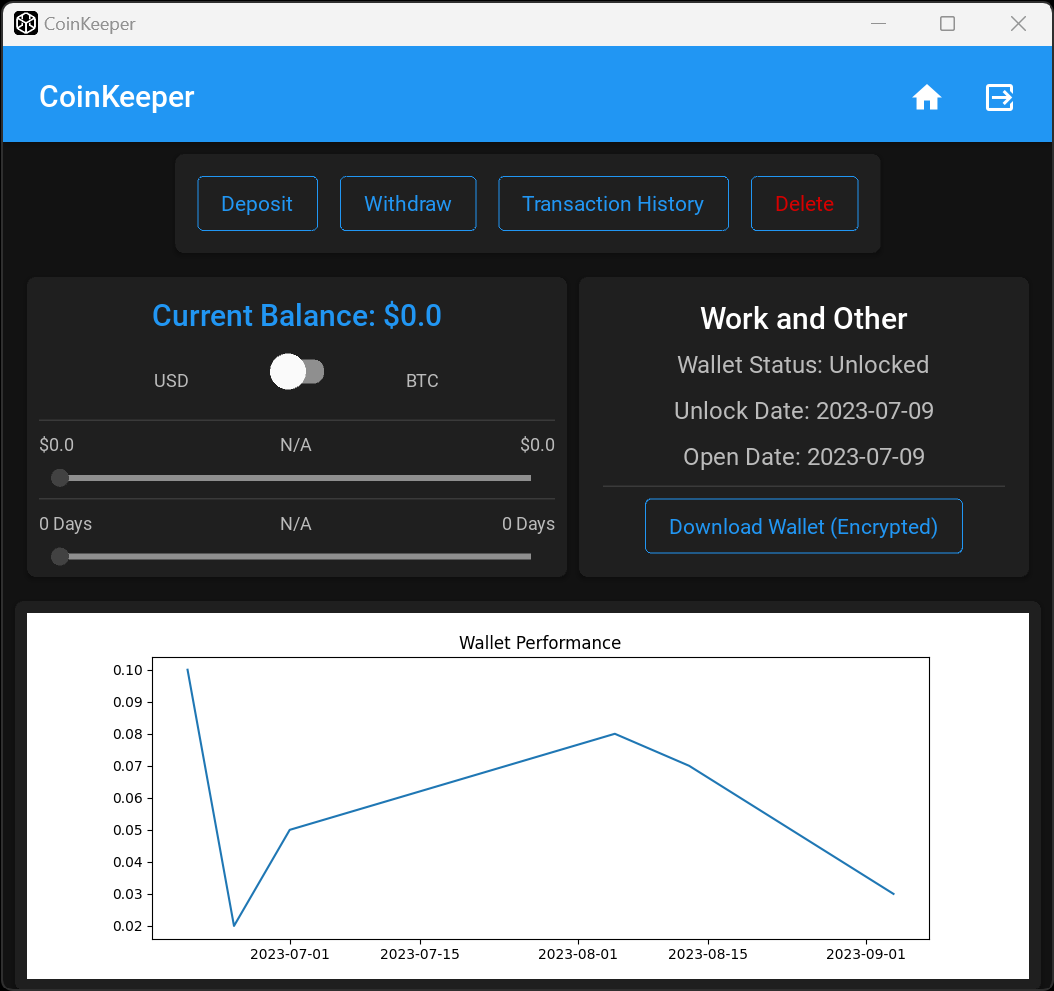
- App light/dark mode for personalized visual experience.
Standard Installation Steps
Step 1:
1. Download the CoinKeeper folder from here.
2. Store the folder anywhere on your Microsoft Windows machine.
Step 2:
1. Inside the CoinKeeper-app directory, locate the file named main.exe.
2. This file will be the only .exe file with the CoinKeeper icon.
Step 3:
1. Create a shortcut of the file and rename it CoinKeeper.
2. Pin the shortcut to your taskbar and start menu.
Advanced Installation Steps using auto-py-to-exe:
These steps are for those who downloaded the SnapAccess file for debugging purposes.
Step 1 (RECOMMENDED):
1. Use the latest version of Python. Visit Python Downloads for more information.
Step 2 (RECOMMENDED):
1. Use a virtual environment for Step 3. Refer to the Python documentation for instructions on creating a Python virtual environment or Anaconda documentation for instructions on creating an Anaconda virtual environment.
Step 3:
1. Install pyinstaller by running the command in the console.
pip install pyinstaller
2. Install the required dependencies by running the command in the console.
pip install -r requirements.txt
3. Install auto-py-to-exe by running the command in the console.
pip install auto-py-to-exe
4. Run auto-py-to-exe by executing the command in the console.
auto-py-to-ex
